As promised, although a little later than planned, here is how I made the Plane birthday cake.

Plane birthday cake
What you need:
– a loaf tin
– a slice tin
– a cake mix (I used a vanilla packet mix)
– one batch of butter cream icing
– food colouring of choice ( I’ve used green & blue)
– lollies to decorate
I based the cake on the design of the plane I created for the Happy Birthday banner.
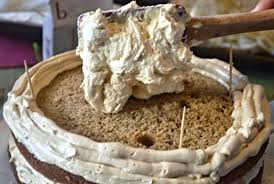
I baked the cakes splitting the mixture between the 2 tins. Once cooled I placed the smaller cake upside down on the short edge of the other cake and cut it. Using the rest of the cake to cut 4 triangles for the wings and 2 triangles for the tail. A small rectangle was used for the top of the plane. Cut the corners off the main cake and use 2 of them to create the nose. I also tucked a small square under the back of the main cake to help support the tail. Using toothpicks and butter cream secure the tail and the nose to the main cake. There was i little bit of cake left so I cut out a few small circles and made a cloud for the candle to sit in.
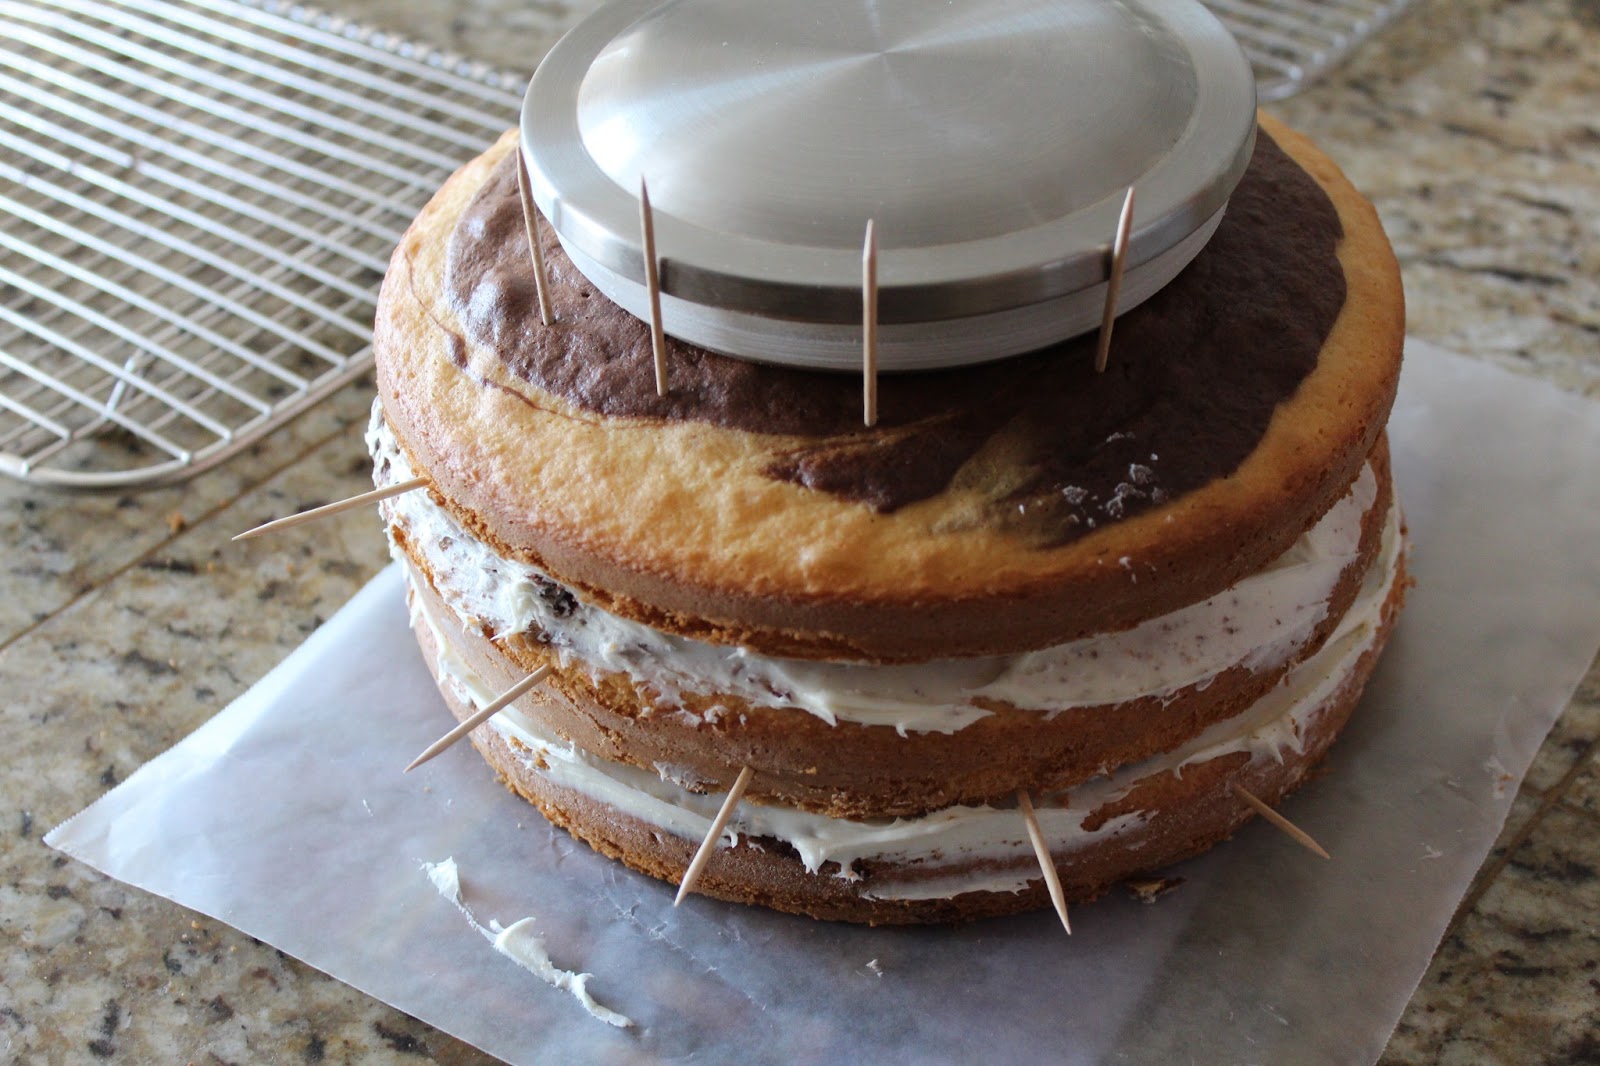
cakes ready for cutting
plane assembled with butter cream and toothpicks
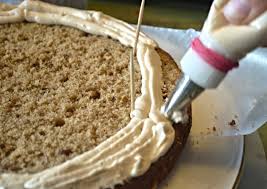
All thats left now is to ice and decorate. I’ve used a snake and raspberry lolly to make the propellor and its held in with a toothpick. The windows are the bottom of strawberry and creams and the lights on the wings and tail are mini choc buttons.
Linking up with ASWC
Happy plane making,