
This tutorial originally appeared on And Sew We Craft. I’ve been looking for ideas for end of year teacher gifts and I thought this could be a perfect gift for my boys teachers.
Zippy Purse with a Twist Tutorial
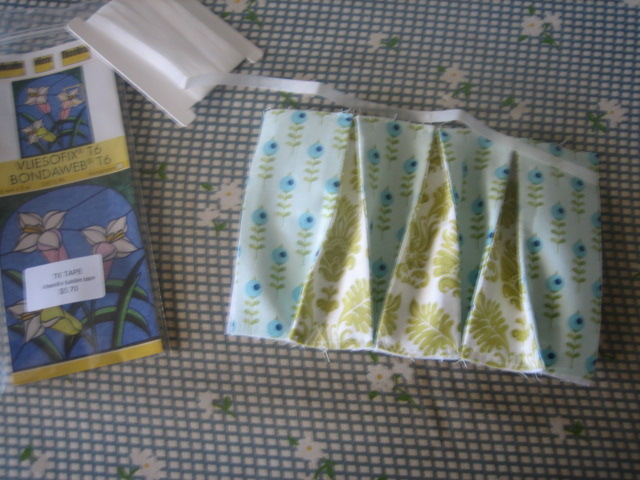
What you’ll need :
8x 2”x4.5” strips of fabric A
6x 2”x4.5” strips of fabric B
2x 7”x5” fabric for lining
2x 11”x4.5” medium weight iron on interfacing
6” or 14cm zip
cutting mat, ruler & rotary cutter (optional)
¼” seam allowance has been allowed in the above measurements
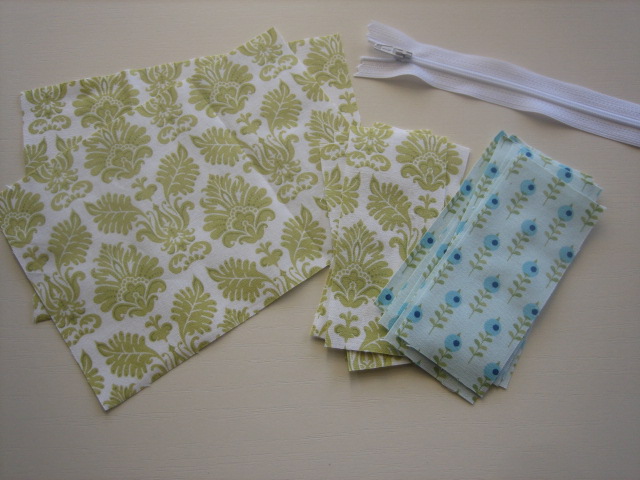
Cut your fabric strips, lining and interfacing.
Starting with fabric A, place fabric B on top right sides together and sew down the right side with a ¼” seam. Repeat until you have 4 fabric A’s and 3 fabric B’s joined together. Make 2 of these, one for each side of the purse.
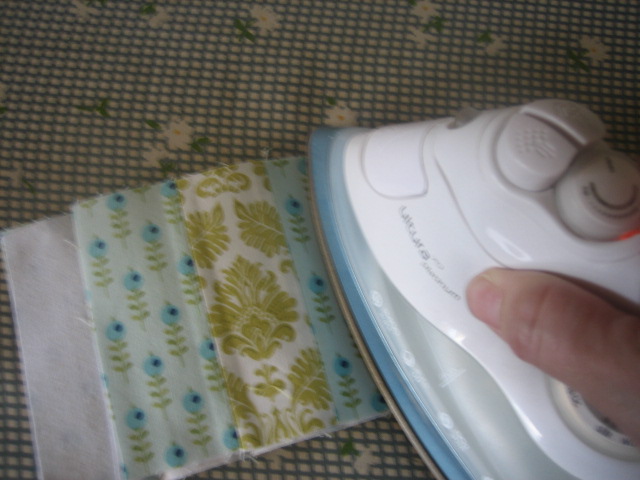
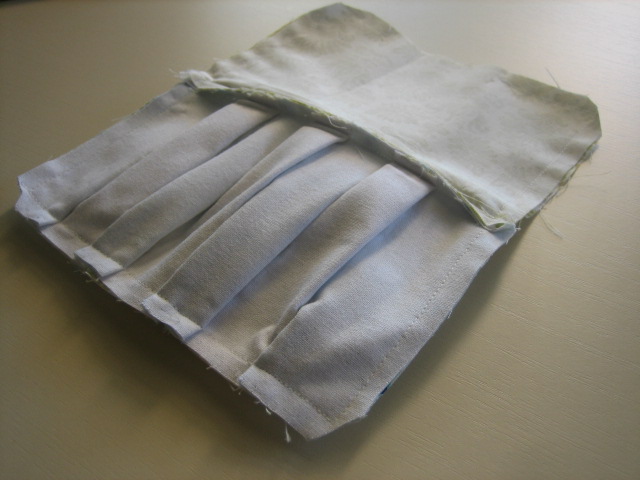
Iron the seam allowances out and then iron on the interfacing.
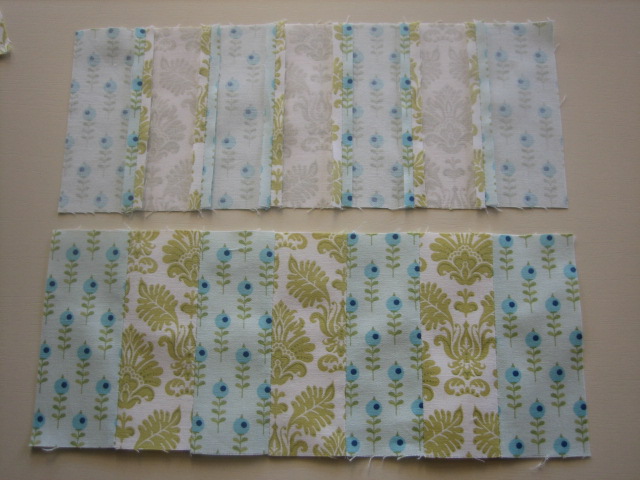
pressed seams on reverse side

Iron along all seams with wrong sides together, this will make the next part easier.
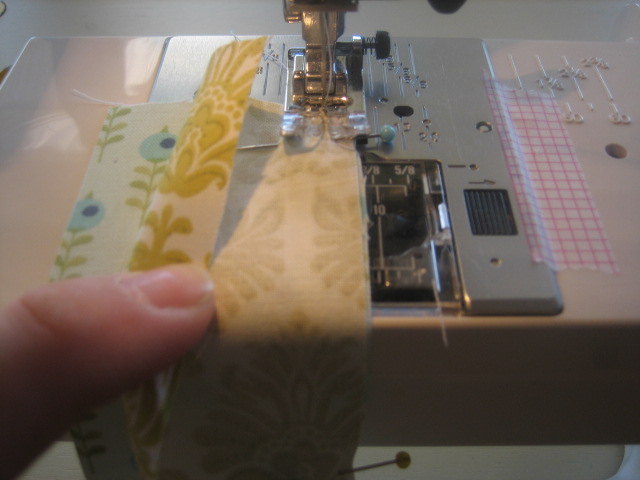
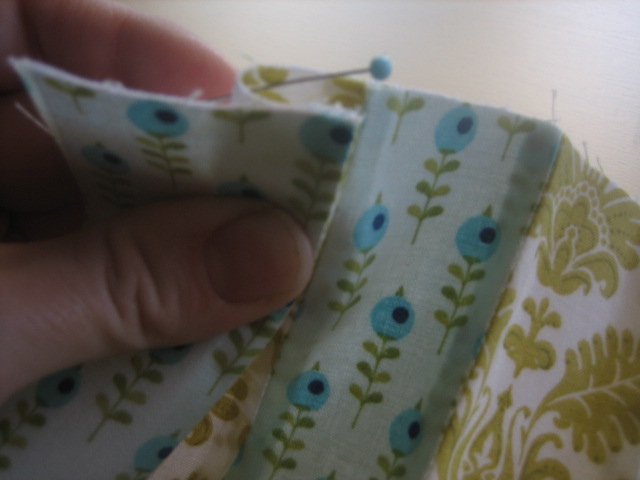
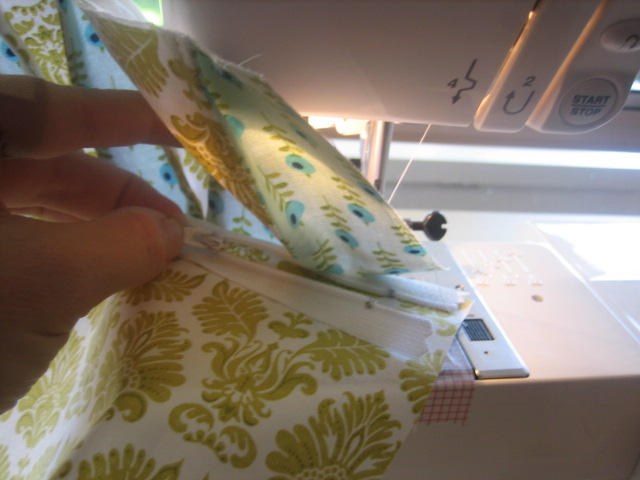
First fold in fabric A along the top edge so the seams meet in the middle like this. Find the centre of fabric B by folding in half and mark with a pin. Then fold fabric A to meet the pin and pin into place. Repeat across the top then stitch in place with a long stitch 1/8″ from edge.
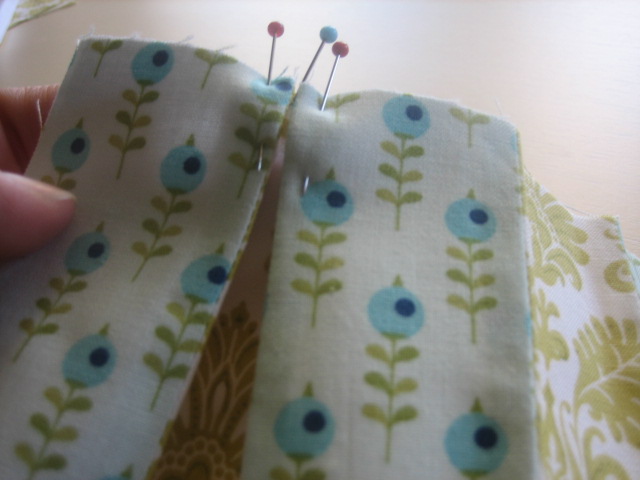

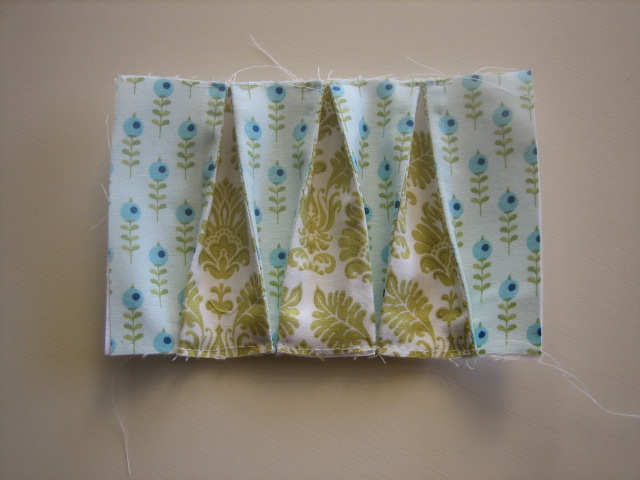
Now do the opposite along the bottom so fabric B is joining along the bottom. There should be 1″ of fabric A on the end of the bottom edge. Complete for both front and back of purse. You can trim threads as you go.
My best friend when it comes to attaching zips is vliesofix tape. If you don’t have any of this you can use 5mm strips of vliesofix or you can choose to pin it.
Place the tape sticky side down onto top edge of purse and iron along the paper tearing it off at the side of fabric. Remove the paper and align your zip into place then iron. Remember to put the top side of the zip facing your outer fabric. Iron the lining fabric onto zip using vliesofix tape. Using your zipper foot stitch along the zip as close as you can. When you get close to the zipper pull stop sewing. Lower your needle to keep your spot. Lift your machines foot, gently twist fabric so you can undo the zip. Straighten up, lower the foot and continue sewing until the end of zip. Repeat on the other side.
attaching the zip
Press your fabrics away from the zip on either side.
Place wrong sides of your purse together with the zip open 3/4 of the way. Pin the purse together as shown in the photo below. Leave a gap about 3 inches in the lining to turn the purse through.

Clip the corners, trim any loose threads and turn inside out. Press around the edges and stitch together the opening. Push the lining back inside the purse and you are done.
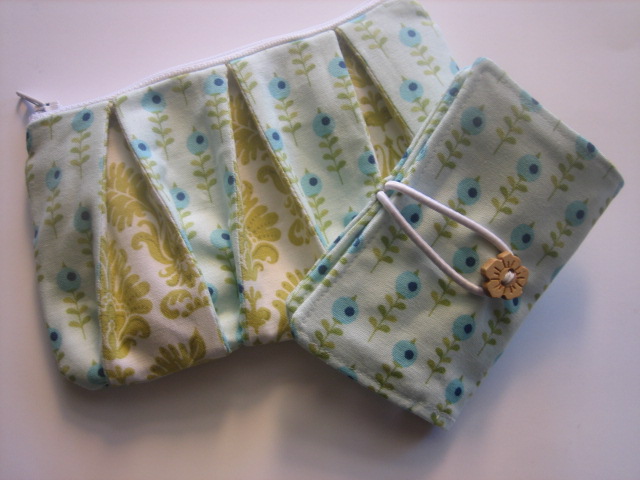
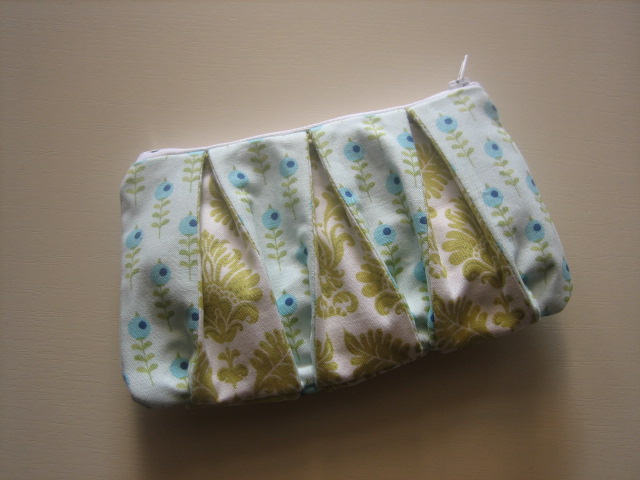
Zippy Purse and Card Wallet
Here’s my Zippy Purse with a Twist. You can find how to make the card wallet over at my blog here.
What other ideas do you have for teachers gifts?