Wow it’s been too long. I’ve been busy working in my new job as well as behind the scenes planning for some super exciting times ahead for L&D. If you’re here because you want to make amazing bags that’s awesome, me too and I look forward to seeing yours. You can keep up to date with new releases over on fb here 🙂 and of course right here on the blog.
Before I go and release the first pattern for 2016 which might I just say is super cute and stylish and I hope you love it as much as I do….I’ve finally put a tutorial together to add grommet handles into the Emma Clutch Tote. If you haven’t got this pattern yet you can find it here or in the shop. Here’s my little hack!
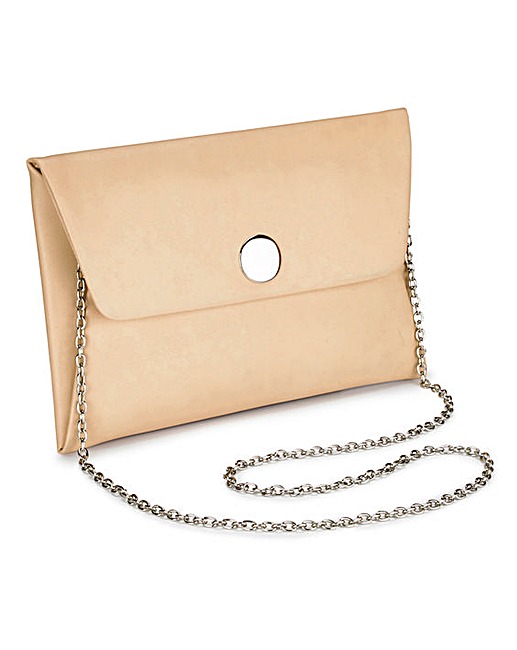
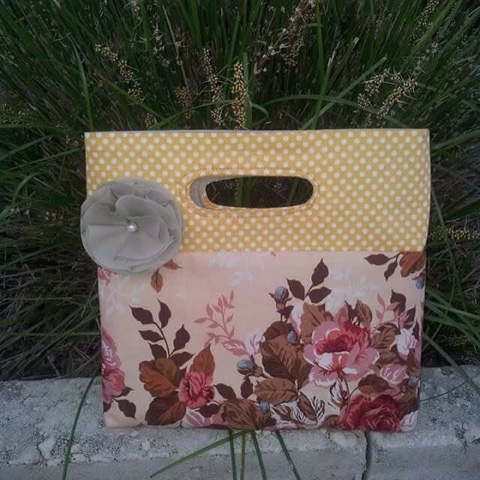
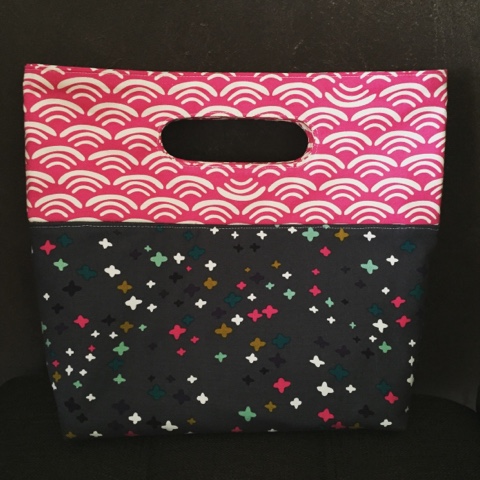
The Emma Clutch Tote without grommet handles
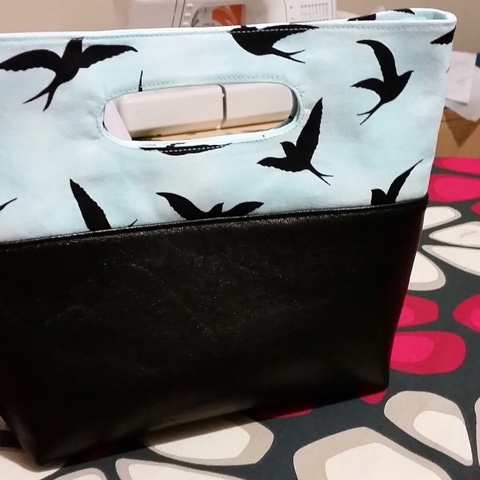
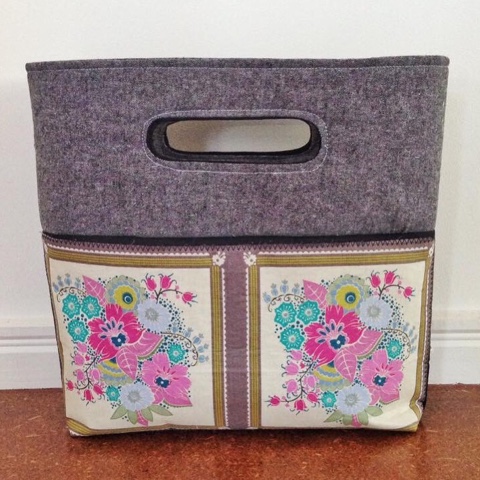
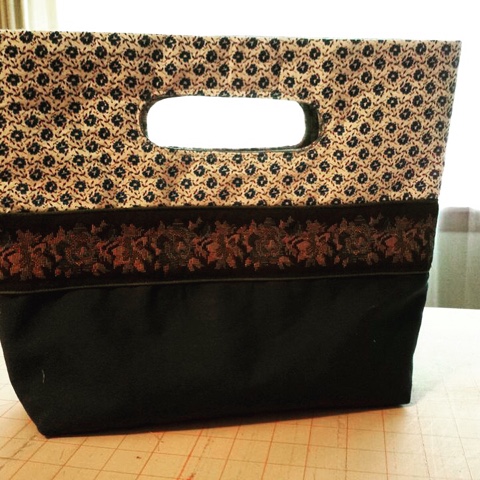
Emma Clutch Tote Pattern Hack
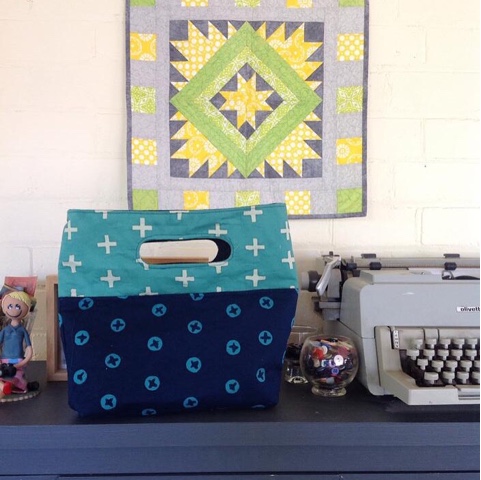
Adding Metal Grommet Handles to your Clutch
When you get to the section “Make the Handles – Steps 26 – 35” follow these steps instead:
PLEASE NOTE:
You will need to cut the following (and DO NOT require Pattern pieces B & C)
· Cut 2 pieces 14” across x 11” high from your Handle Fabric
· Cut 2 pieces 14” x 11” of fusible interfacing
1. Fuse the interfacing to the wrong side of fabric as per manufacturing instruction
2. Place the fabric pieces right sides together and sew the side seams to make a tube.

3. Clip the seam ends and make a notch in the middle of the seam allowance on each side. Press seams out.
4. Turn the tube inside out to fold it in half. Wrong sides should be together. Top stitch ¼” around the folded edge.
5. Measure 1” from the top edge centred (folded edge). Place the handle grommet in position and using a fabric marker trace around the centre of the grommet.
6. Cut this hole out a little bit bigger than the markings.
7. Position the front of the grommet in place and attach the back to the inside securing it with the prongs or screws depending on your grommet.
Continue pattern at Step 36 – Adding Magnetic Clasp
And thats the hack! I can’t show you the finished bag yet as its a present but as soon as its received I’ll be sure to share over on Insta
Until next time, happy bag making!