It’s been a crazy couple of weeks in our house with my brothers wedding on the Gold Coast followed by a busy Mother’s Day. We also caught up with some friends in Brisbane while we were up there for the weekend. I’m now back into the swing of things and I’m crafting more and hoping to share here more regularly. So here’s what has been happening in my sewing room this week.
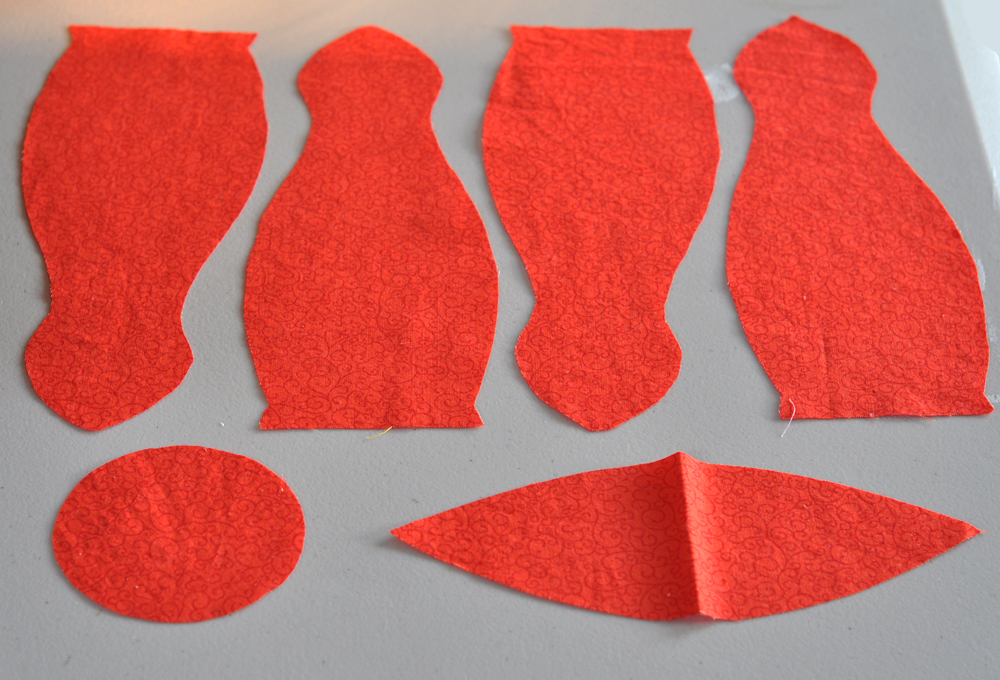
First up I’m sewing along with the Lil Pip Challenge making the I heart Bowling set. I’m all cut and ready to sew.
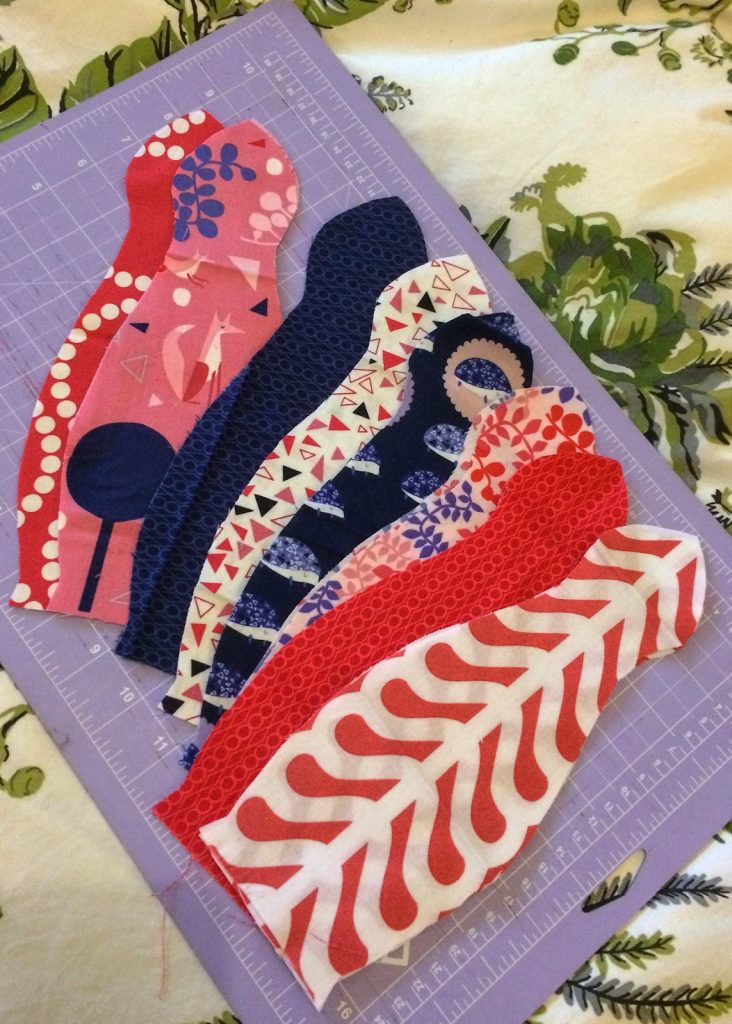
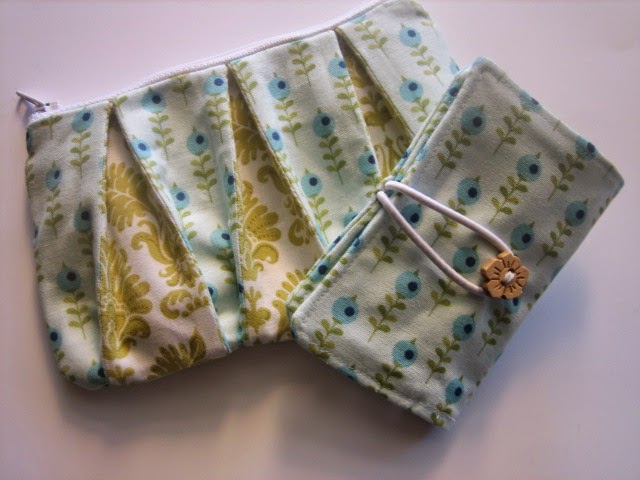
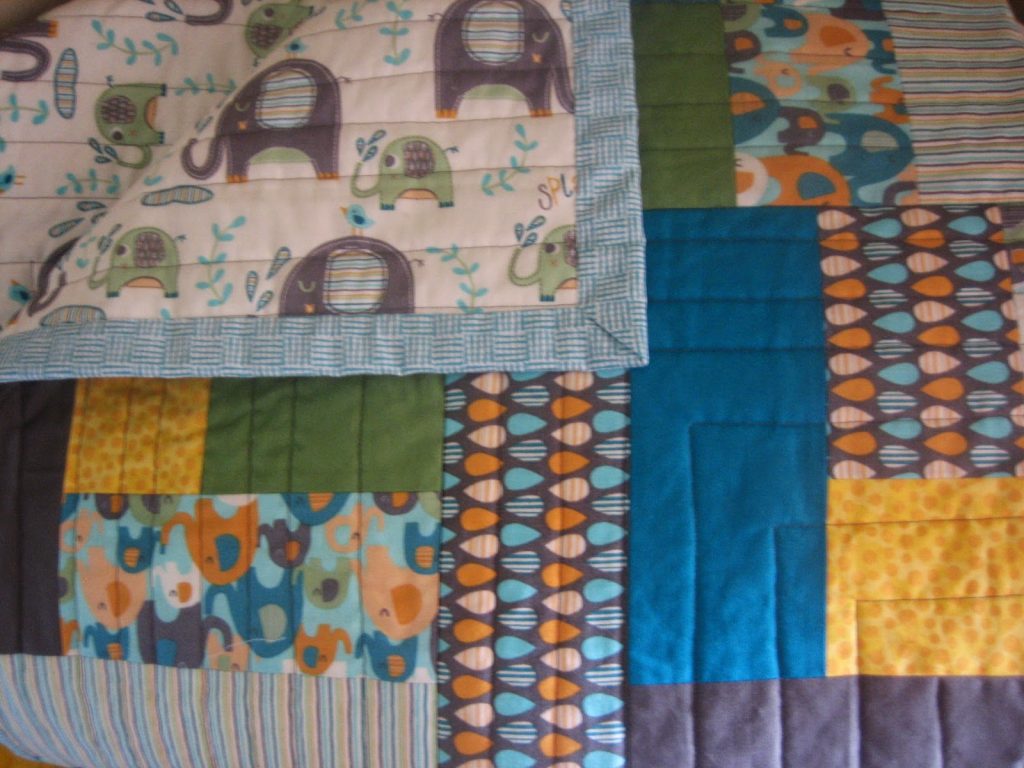
I’ve also been working on a couple of projects I’ll be sharing over at And Sew We Craft. It’s baby month and these have been on my to do list for far too long, tick, tick. Here’s a sneaky peek.
And lastly, this week I signed up to a Kate Spain Aussie Charm Swap being organised by Ms Midge. I know I’m only a beginner when it comes to quilting but I love Kate Spain fabrics and am pretty excited about receiving my envelope of pretty fabrics.
I’m linking up with Little White Dove